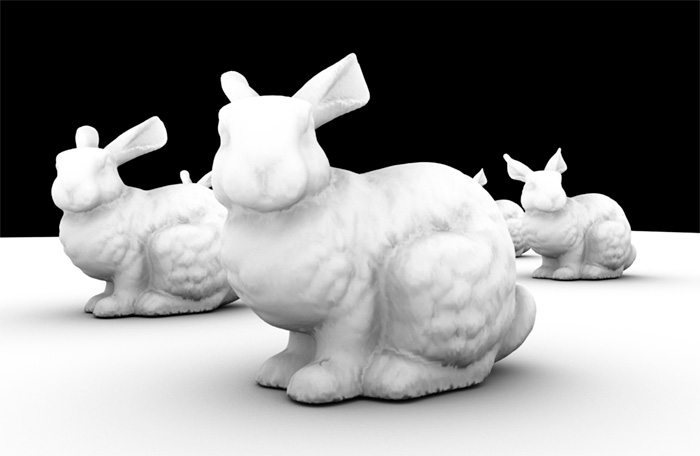
Normally we don't use the Ambient Occlusion pass because it is not physically accurate, but I understand that in certain occasions and to obtain certain effects it may be fundamental.
You can find here the article on the depth pass bug for a complete explanation on the workings of the Assembly file, of its advantages and disadvantages.
The solution is identical to the one used for the depth pass, that is, to edit with a text editor the assembly file exported from Maya. You should refer to the afore mentioned article for the export procedure and how to find the correct point in the file that needs to be edited.
The code that needs to be inserted is the following:
 "adskPassAmbientOcclusion" (
			"frameBufferNumber" 1,
			"encodingIndex" 1,
			"useShadingEngineThreshold" off,
			"transparencyThreshold" 0.,
			"useLocalSettings" on,
			"rays" 64,
			"brightColor" 1. 1. 1.,
			"darkColor" 0. 0. 0.,
			"spread" 0.,
			"spreadExponent" 1.,
			"maxDistance" 1.,
			"reflective" off,
			"cachePoints" 0,
			"occInAlpha" off,
			"outputMode" 0
		)
It goes just before the shadow = "material_name" line.
The complete code in the shading group section of the material will be:
material "material_name_SG"
		"adskMayaShadingEngine" (
			"surfaceShader" = "material_name.result",
			"cutAwayOpacity" 0.,
			"customShader" on
			)
			 "adskPassCameraDepth" (
			"frameBufferNumber" 0,
			"encodingIndex" 0,
			"holdout" off,
			"useShadingEngineThreshold" off,
			"transparencyThreshold" 0.,
			"remap" off,
			"znear" 0.,
			"zfar" 1000.,
			"minbuffer" 0.,
			"maxbuffer" 1.
	   )
	   "adskPassAmbientOcclusion" (
			"frameBufferNumber" 1,
			"encodingIndex" 1,
			"useShadingEngineThreshold" off,
			"transparencyThreshold" 0.,
			"useLocalSettings" on,
			"rays" 64,
			"brightColor" 1. 1. 1.,
			"darkColor" 0. 0. 0.,
			"spread" 0.,
			"spreadExponent" 1.,
			"maxDistance" 1.,
			"reflective" off,
			"cachePoints" 0,
			"occInAlpha" off,
			"outputMode" 0
		)
	shadow = "material_name"
	photon = "material_name"
end material
note that I also include the lines of code that are necessary to make the depth pass work.
Yoy also need to change "material_name" with the name of your material.
Pay attention especially on the useLocalSettings line because it needs to be set on on in order for the other parameters to be controlled.
To edit the parameters though, you will have to edit manually the values of these lines of code. Not the best thing ever but for the moment I wasn't able of finding a better solution.
My search continues, if I'll find a better way, I'll write it here.
I hope it helped.


