The concept is very similar to mental ray's proxies but they are to be considered an improved version because they are more effective and because they are integrated in the Maya UI.
With Assemblies for example you can export groups of objects in a single file choosing if you want to include the shaders (which is not possible with simple proxies because they get their material from the stand-in object that calls them).
Unfortunately right from the start the render proxies had a bug that prejudiced their usability, for example they don't appear in the camera depth pass.
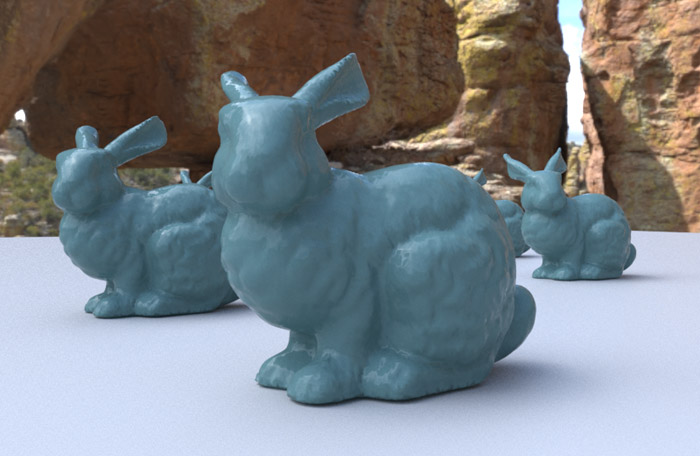
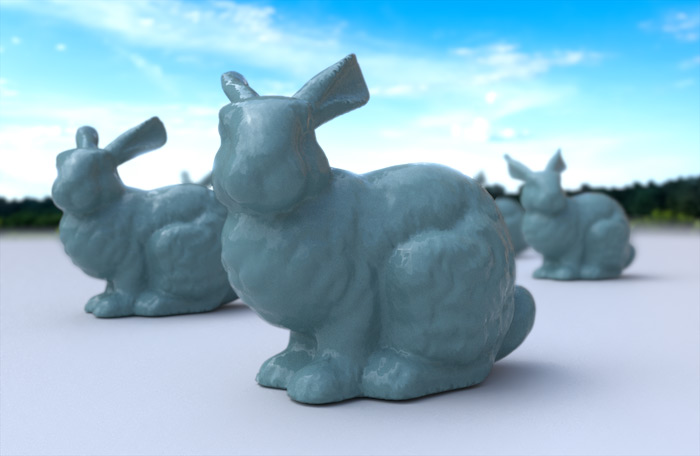
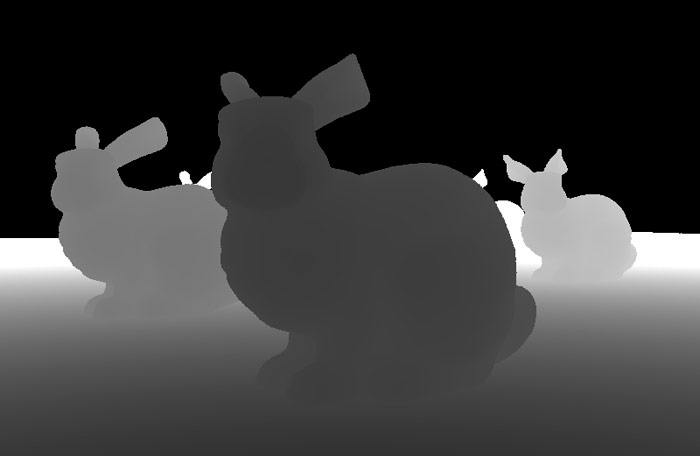
Some models of rabbits created using render proxies

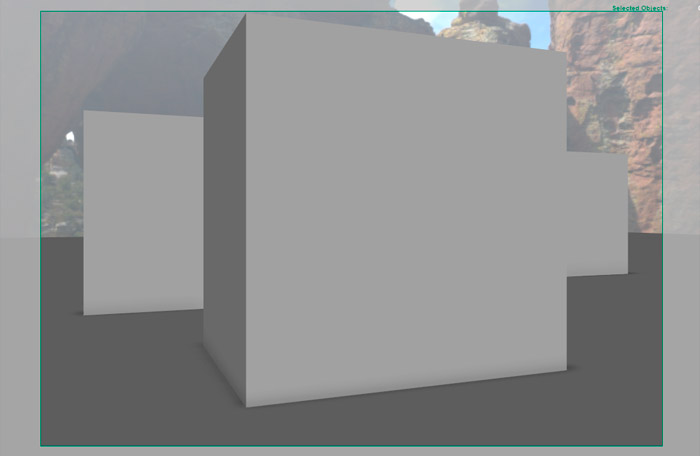
The default depth pass produced by the render proxies: the information about the models does not appear.
As of today in Maya 2015, using the mia_material_x_passes shader, the problem is still unsolved.
Probably with the change to mila_material, and using the LPE system to generate the framebuffers the problem won't exist anymore.
However until the use of mila_materia will completely replace the current workflow that uses mia_material and maya pass system, we have to find a solution to the problem.
In this article I describe some methods to solve it.
But first...
How to create a Render Proxy
- select the desired objects, file > export selection > options;
- as Files of Type select mental ray;
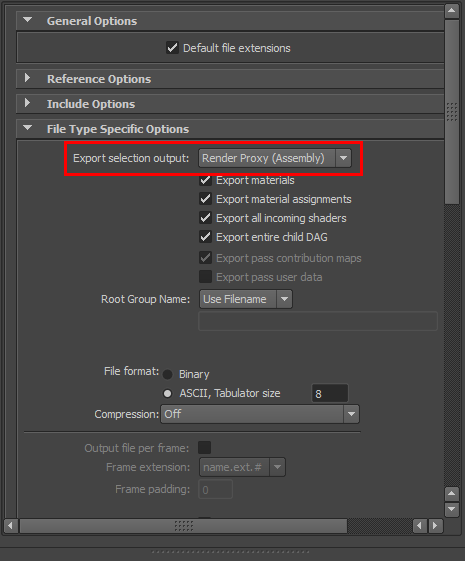
- in file type specific options > export selection output choose Render Proxy (Assembly);
- click on export selection;
The window to export the assembly
- you will get a .mi file that has to be loaded in the shape of a stand-in object in the mental ray > render proxy section;
- the object will be scaled to match the bounding box of the Assembly and it will be ready to be rendered.
This is how the stand-in objects will appear in viewport after the association with the Assembly.
Recreating the problem
Let's assign now some passes to the Master Layer, diffuse, reflection and camera depth for example.
You will see that while the first two will work without problems, the third instead presents a black silhoutte where the Assembly should be.
Two possible solutions
The first is easier, you just have to disable the "export materials" option in the export process.
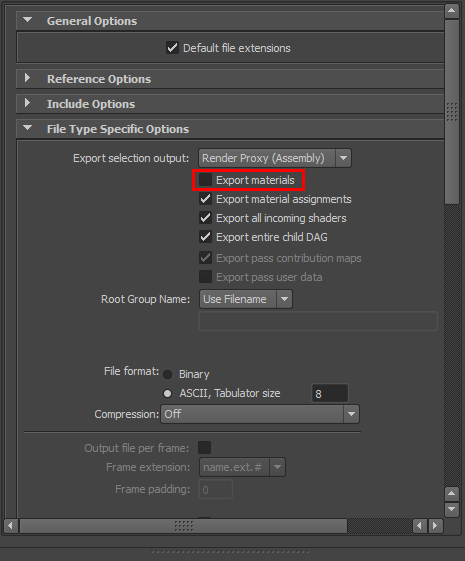
The export window with the "export material" option disabled
This way the shaders will not be included in the .mi file and the material will be derived from the one assigned to the stand-in object.
The problem of this technique is when the model that you want to convert to Render Proxy is constituted by many objects with different shaders, like for example a tree with the trunk and the leaves that have different materials. In this scenario you would have to create two separate Render Proxy and assign the respective materials to each separate sta-in model. This solution is not practical most of all when the number of objects increases.
The second solution involves a manual edit of the .mi file.
Like explained in this post, Maya's exporter for some reason doesn't write in the ShadingGroup assembly the call to the adskPassCameraDepth shader.
Unfortunately we will have to edit the file manually. Don't fear, it's easier than you imagine.
First of all you have to export the file in ASCII so that it can be edited.

The option to export the file in ASCII format
After opening the file with a text editor search for the material section, it's the one that describes the material's shading group.
It will look something like this:
material "mia_material_x_passes2SG"
	"adskMayaShadingEngine" (
	   "surfaceShader" = "mia_material_x_passes2.result",
	   "cutAwayOpacity" 0.,
	   "customShader" on
	   )
	shadow = "mia_material_x_passes2"
	photon = "mia_material_x_passes2"
end material
Now we just have to add this lines before "shadow":
"adskPassCameraDepth" (
		"frameBufferNumber" 0,
		"encodingIndex" 0,
		"holdout" off,
		"useShadingEngineThreshold" off,
		"transparencyThreshold" 0.,
		"remap" off,
		"znear" 0.,
		"zfar" 1000.,
		"minbuffer" 0.,
		"maxbuffer" 1.
		)
The completed section will look like this:
material "mia_material_x_passes2SG"
	"adskMayaShadingEngine" (
	   "surfaceShader" = "mia_material_x_passes2.result",
	   "cutAwayOpacity" 0.,
	   "customShader" on
	   )
	   "adskPassCameraDepth" (
	   "frameBufferNumber" 0,
	   "encodingIndex" 0,
	   "holdout" off,
	   "useShadingEngineThreshold" off,
	   "transparencyThreshold" 0.,
	   "remap" off,
	   "znear" 0.,
	   "zfar" 1000.,
	   "minbuffer" 0.,
	   "maxbuffer" 1.
	   )
	shadow = "mia_material_x_passes2"
	photon = "mia_material_x_passes2"
end material
In case the model is made up of more material you will have to repeat this operation for each of them, in different places inside the .mi file.
Now you will see that the depth pass will be rendered correctly.
The depth pass now contains the information of the Render Proxy.
At last we can use Render proxies in all their potential for standard compositing operations.